Saturday, January 18, 2014

The Ringweeder...What's it all about then?


Ringweeder Review

My Ringweeder arrived through the post the other day from Vincent Suozzi in America and it wasn’t long before it was adorning my index finger. The Ringweeder is a simple device invented by Vincent and resembles a two pronged fork that fits like a ring onto your finger to help weeding in small, awkward spaces and I have been eager to give it a test run after since seeing in on the Kickstarter website earlier last year. The Kickstarter project, gives members of the public the ability to invest in new innovations such as this and raised the funding to perfect the design and start production. 

The finished piece is a single, high quality plastic tool which looks to have no weak spots so common in a lot of gardening tools. 

Vincent has spent a lot of time perfecting his new tool and his idea has come a long way since he first fastened a large nail to a steel ring.   The Ringweeder comes in two sizes to suit most hands.

The Test
Finding an area of weeds in my garden to test the device wasn’t difficult!  Having the Ringweeder on my finger was comfortable and it wasn’t long before I was getting stuck in removing even long tap roots. It made me realise that for years I have weeded with my index finger intuitively and worn holes in hundreds of pairs of gloves as well as getting frustrated at not getting the weeds up effectively when I stick my finger into the hard ground. 

The Ringweeder really works. I used it for a good half an hour and it made working in awkward places in between plants very easy. If you were weeding for a long time the gloves supplied come in very useful for reducing the friction between the plastic and the skin.
 
There are a lot of devices put on the markets every year for making life a little easier in the garden, most of them disappear quickly. The Ringweeder seems different. Vincent has actually seen a real gardening problem and found a solution. It was a gardening problem which I didn’t even know existed!

The Ringweeder will also be extremely useful for people with disabilities as no gripping is needed unlike trowels and other hand tools.

I think this simple device has the ability to be a regular ‘must have’ tool in the garden, it doesn’t require fuel to use, needs no maintenance, doesn’t take up any room and can be bought for less than six euro. Check out theringweeder.com

Hypertufa Obsession


Tufa Obsession
Since last week I have spent an obsessively long time attempting to perfect my Hypertufa plant pot mix.  I started off by making the sample pots from just peat, cement and pearlite. All seemed well but when the dried out I found they were lightweight but also too fragile for any real use. They would be good for planting into the ground complete with a young plant but that’s not what I am looking for, I want a pot that can stand up to the rigors of everyday use.  

So it was time to roll my sleeves up and play with different types of mixes. I used less peat, more cement and also added some sand. One review I read about making tufa commented that the best way to get a strong plant pot was to not use peat!  To me that defeated the object of producing tufa pots but I did do one or two without it.  The results were strong but did look like miniature concrete council road bollards, again, not what I was looking for.


One to One
The tunnel is now full of pots of various sizes and consistencies. I am having a bit more success with a 1x1x1x1 mix of sand, peat, pearlite and cement but my biggest problem was getting the set pots out of the molds. I started off by filling a larger pot and then pushing a smaller pot into this to make the recess. All seemed well until the mix set – the pots are stuck in!  The only ones I could get out were the plastic pots as they have a bit of flexibility but not the aesthetic values of the terracotta pots I am also using. 


I therefore had to think of a way to keep the shape of the terracotta pots but have the flexibility of the plastic ones. 


My solution is this. I got some very large pots and filled them with expandable foam then placed a terracotta pot inside this and let it dry.  The resulting hard mold is light and flexible. For good measure I have also made some molds out of sections of cut drainpipe with slits in them fastended by cable ties. These can be pulled open when the mix has set.
It’s still early days with the new methods but I am optimistic I will 
have a product that will look good on the dining table as well as in the garden. Again, I’ll keep you posted.

Monday, January 13, 2014

Hypertufa Images


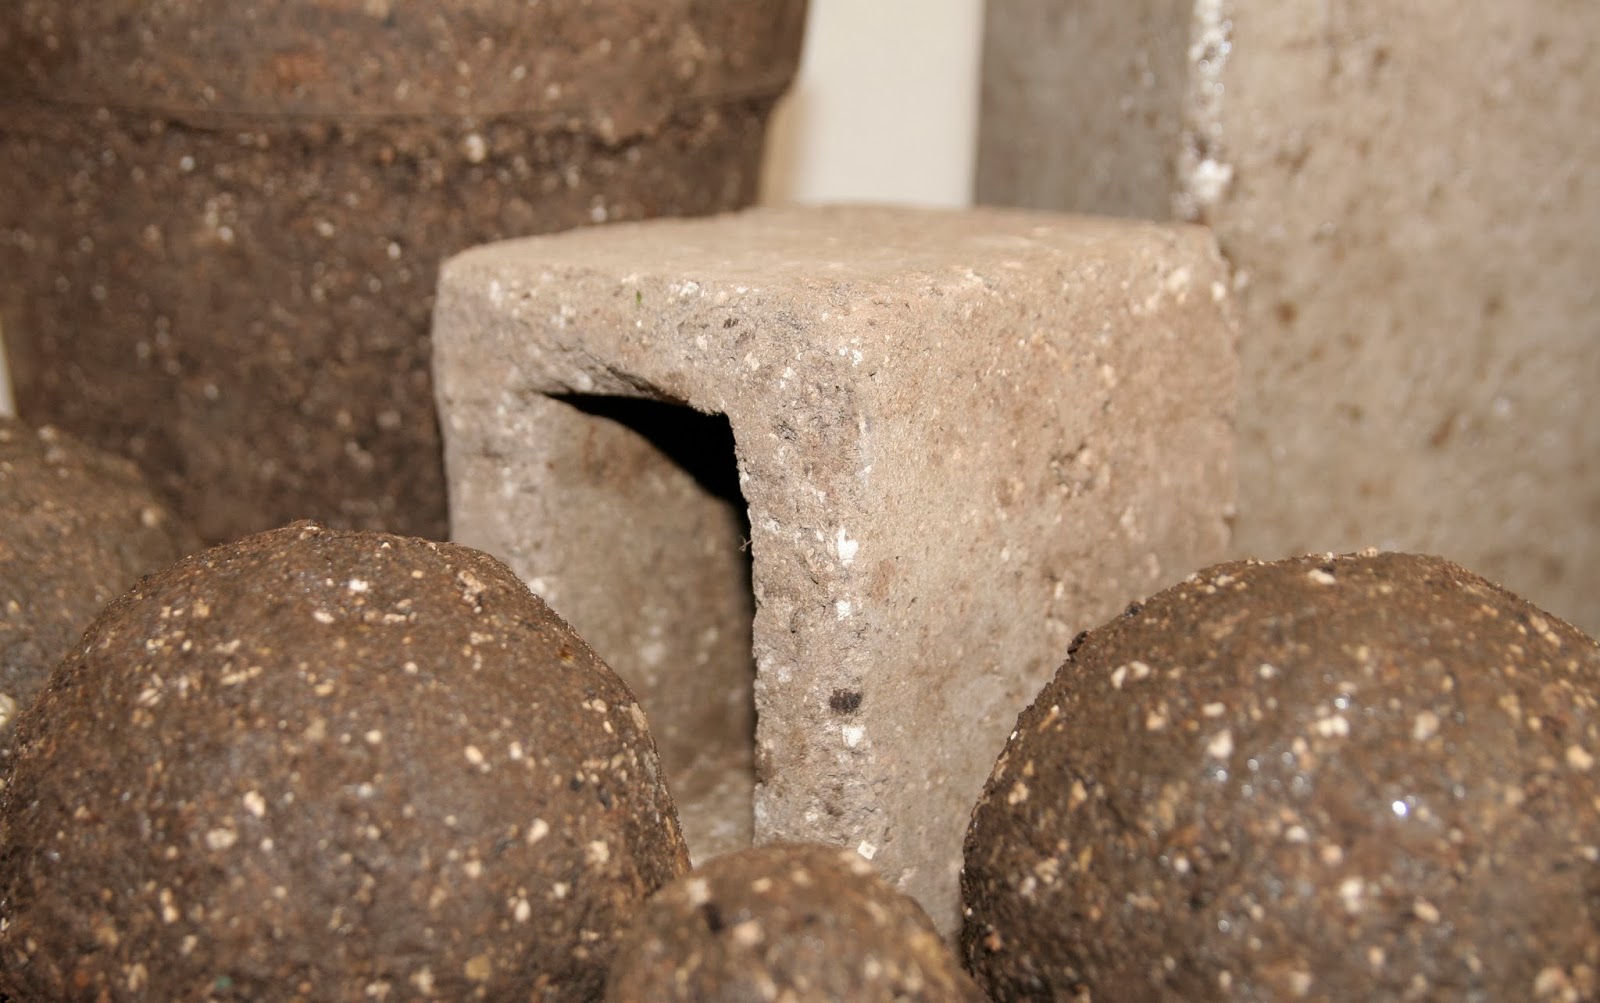
 My first batch of experimental tufa pots are dry. Made from peat,cement, perlite and vermiculite- the seem strong and durable. In time the moss and algae should cover them. For indoor and outdoor use.


Thursday, January 9, 2014

Hypertufa


As my terracotta pot collection is dwindling I thought I’d look around for replacements. It seems that vintage pots are quite hard to come by, especially the ones from Carley’s Bridge potteries in County Wexford. So I thought I could take the matter into my own hands and produce some type of container myself.
 I initially thought the best thing to do was set myself up making clay pots as a bit of a sideline in the quieter moments of the day. After looking into the complexities of the pottery industry I realise that this is also not the easiest thing to do. I’d need to get a heater in the garage, buy clay, a wheel and then to top it off I’d need a kiln, which don’t come cheap.
It all seems like a bit too much trouble to go to for a few plant pots so I thought of a simpler and hopefully less expensive way of producing containers. Making them out of something called hypertufa which is a homemade version of a naturally occurring pourus rock called Tufa.


HYPERTUFA
Hypertufa was developed in the 1930s to replicate the stone troughs that were popular among gardeners in the late 19th and early 20th centuries, and are still popular to this day. The lightweight stand-ins are a lot easier to transport. Thanks to their porous nature, the pots are ideal for plants needing good drainage such as alpines and cacti.  

If you’ve ever tried to pick up a concrete container you’ll know that they are perfect for keeping the plants upright in a strong wind but not that good for moving around or putting in the post to deliver to customers. 
 
MIXES
I’m using a few different materials and methods to see which one works the best. Initially the pots are formed by using peat, cement and perlite. I am going to use a peat mix and also a peat free mix to see which holds up better seeing as using peat is a bit of a no-no for the environment.  The peat is mixed with either perlite or vermiculite.  Again both of these materials are non renewable volcanic and chemical products so I’ll be looking for more eco friendly alternatives eventually if all goes well. 

METHOD
The peat and perlite are mixed with cement and water is added until it’s like a mud pie. It’s that simple. The difficult bit is getting it to stick into place. I am using a few bowl shaped pots that get a lot wider at the top, a homemade mould of a square and an old milk carton cut in half just for good measure. The other method I’m using is to get a large (ish) terracotta pot, put a bit of the mix in the base and then put in a smaller pot. The sides are then filled by the mix and I’ll leave these to dry for a few days then tip out. I’m using bits of sticks in the bottom to keep a drainage hole and some trusty WD40 sprayed on the inside to hopefully act as a non stick layer so the hypertufa pots slide out.
That’s it. I think the peat will neutralise the lime from the cement and keep the pot ph neutral which will suit most plants. When I get the mix right I’ll try and put a pattern on the sides for the pots. There are different things I could use, dried leaves, stones, shells, wood chip or anything else with a bit of texture. For now though I’ll wait until they are nearly dry then give them a rub with a wire brush.

AMMONIA
One thing I have noticed id when I have made the mixture, it seems to give off ammonia gas. I’m not sure why this is and for once I can’t find the answers online

I’m hoping that the porous nature of these pots will allow moss to grow on them. It’ll give them that aged look. I will try putting some natural yogurt on one of them to see if that really does speed up the “aging process” The other thing I’ll do is make a mix of old beer and some moss then rub it onto the surface.
I’m not sure how strong they are going to be yet because it takes a while for them to set properly, I have speedily dried out a few bits on the radiator and they appear to be very crumbly. I think     I might need to add some sand, it’s very much trial and error.

It looks like there are loads of ways to make these pots and lots of ideas about planting and decorating. I’m going to have so much fun!

 I’ll keep you posted.

More stories

Related Posts with Thumbnails